Build your first agent
Fifteen minutes from here you will have an agent that reads a real request, uses real tools, and leaves a record of everything it did. No SDK, no deployment, no prompt engineering degree - you brief it the way you would brief a new colleague.
In a hurry? Explore has working agents you can copy into your workspace and adapt, which is usually faster than starting from a blank page. If your workspace has Agent Builder, describing the job in the conversation is faster still - it writes the draft this guide has you write by hand, and you review it.
Create your organization
Choose a plan on Pricing and select Get started. Enter your name, work email, and organization name, then open the verification link in your email. Set your password, or accept the organization invitation if you already have an account.
For Starter and Pro, complete payment before using the organization. Your plan and included credit activate after payment is confirmed. Authorizing automatic renewal alone does not activate access. If you leave before finishing, sign in again to resume. A published Free plan requires no payment.
Once your plan is active, select Build your first agent or open Agents. If you already have an organization, use Sign in from signup to review the selected plan in Plan & usage instead.
Create an Agent
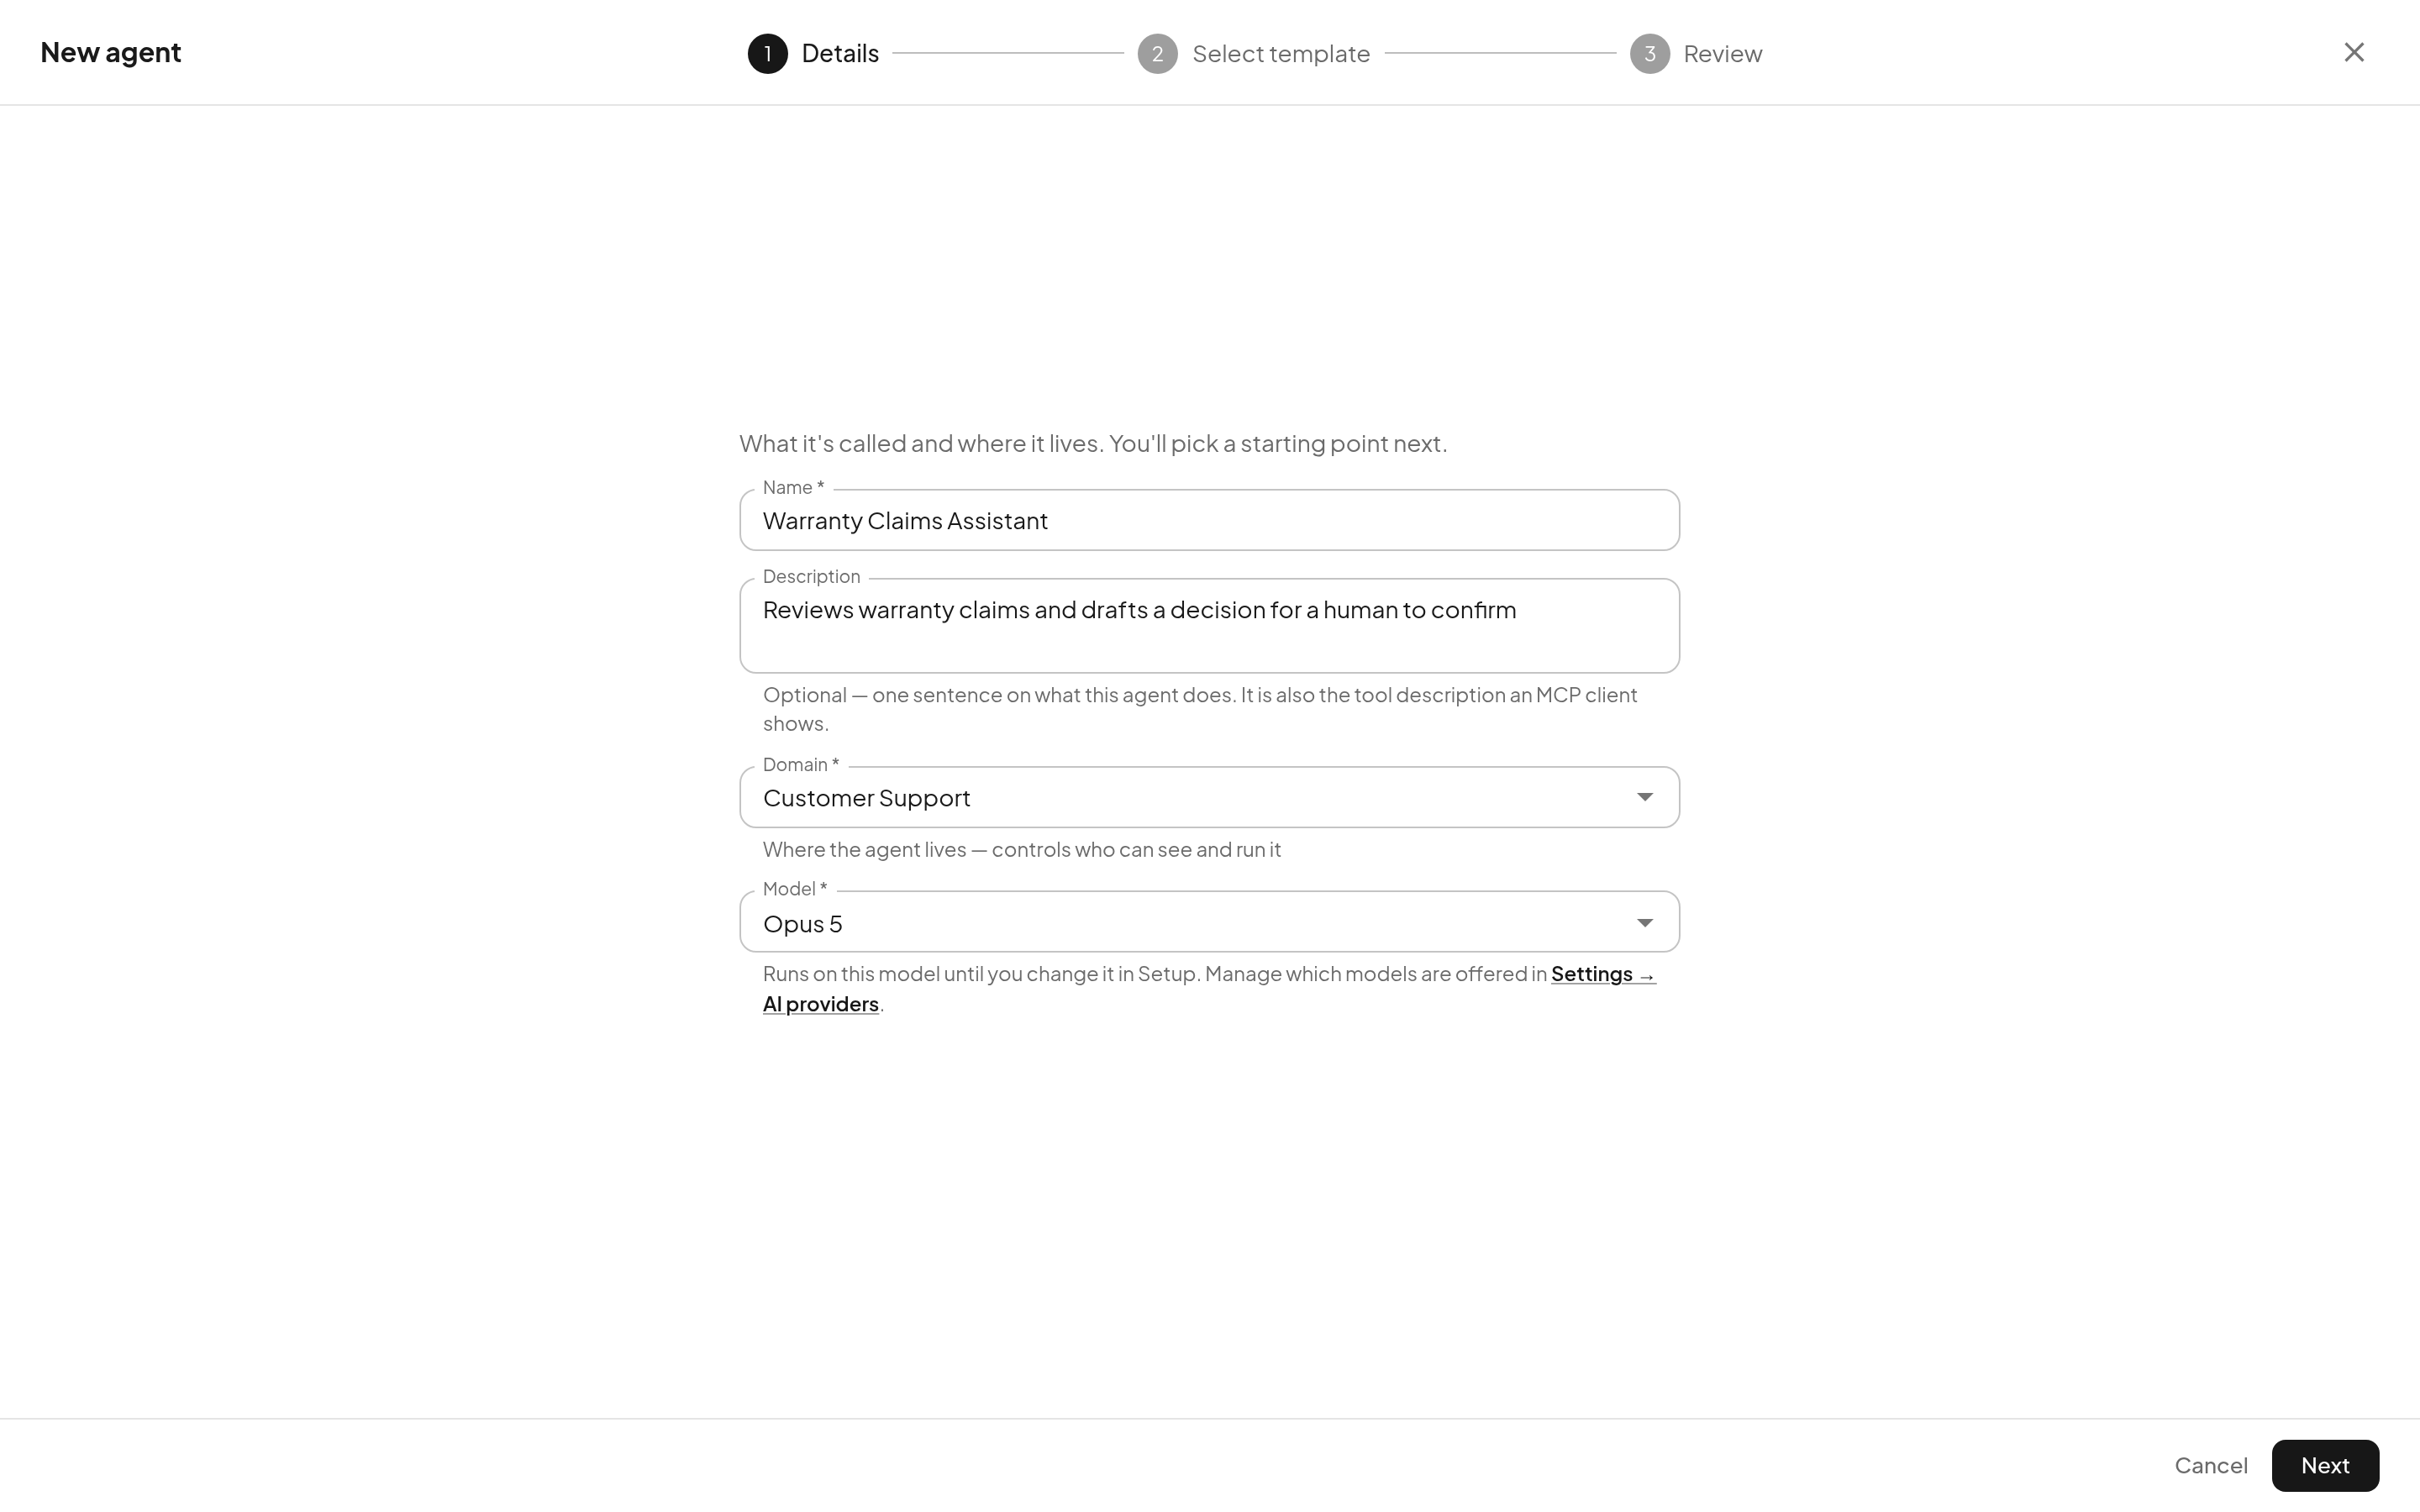
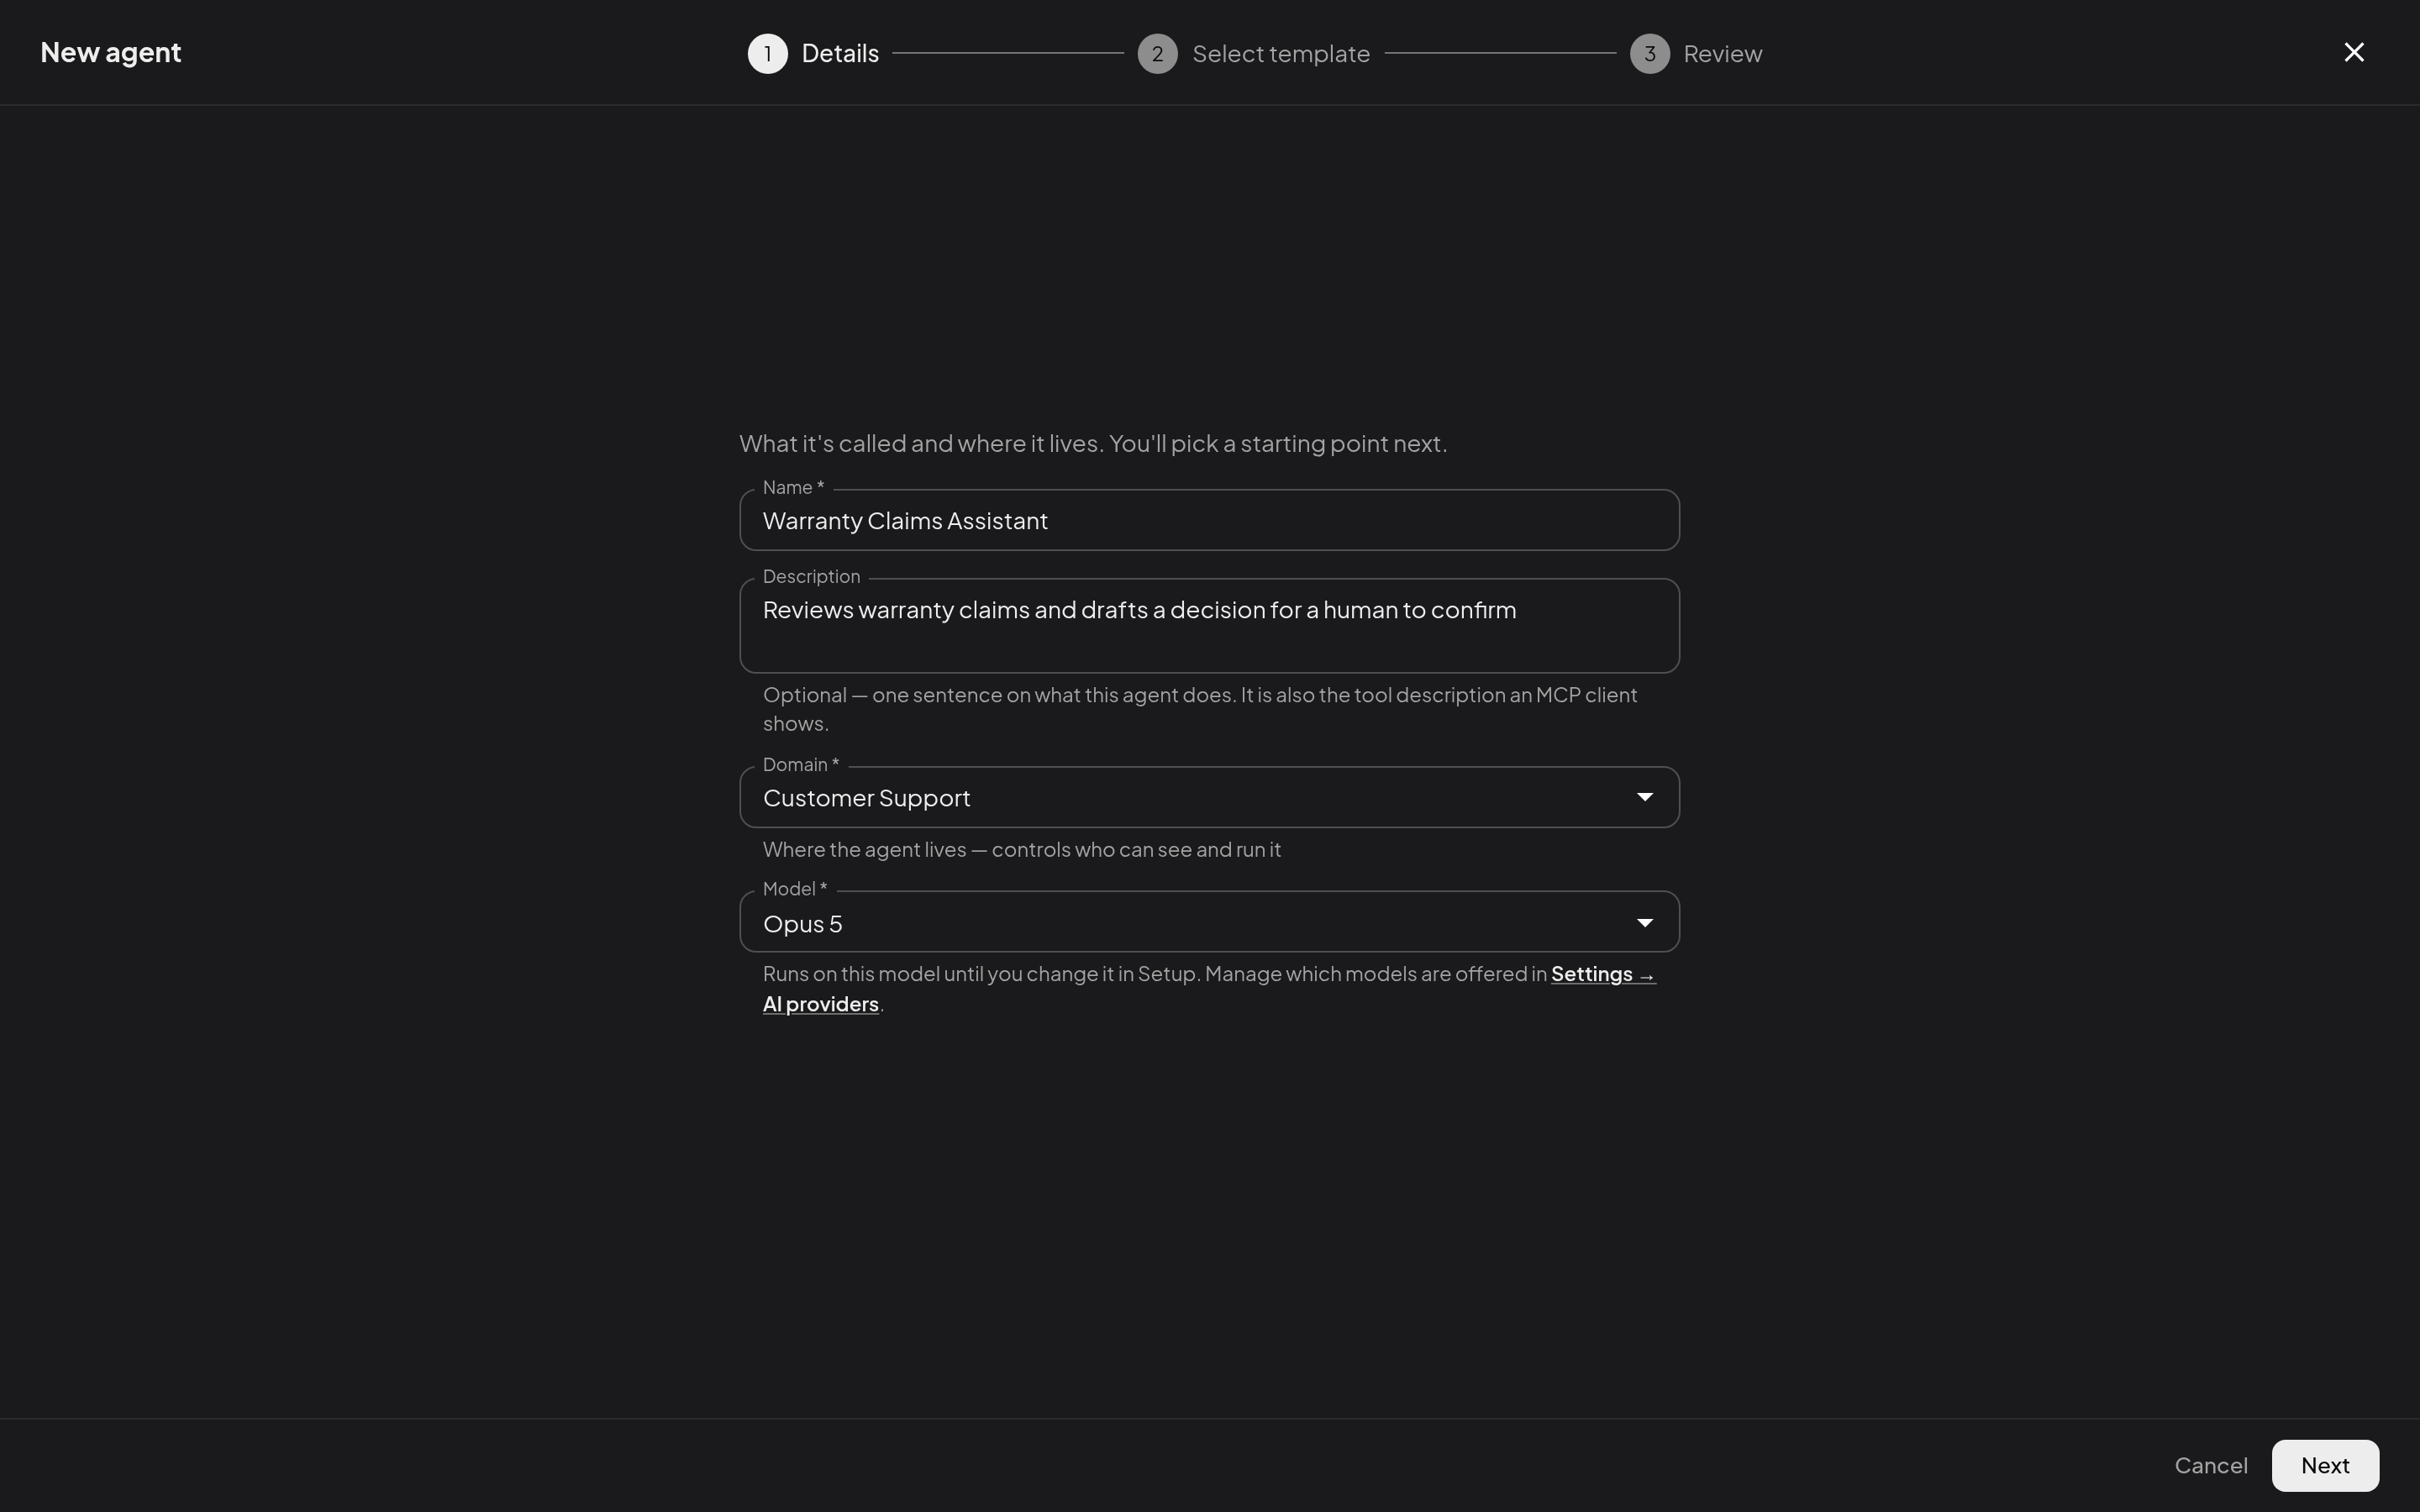
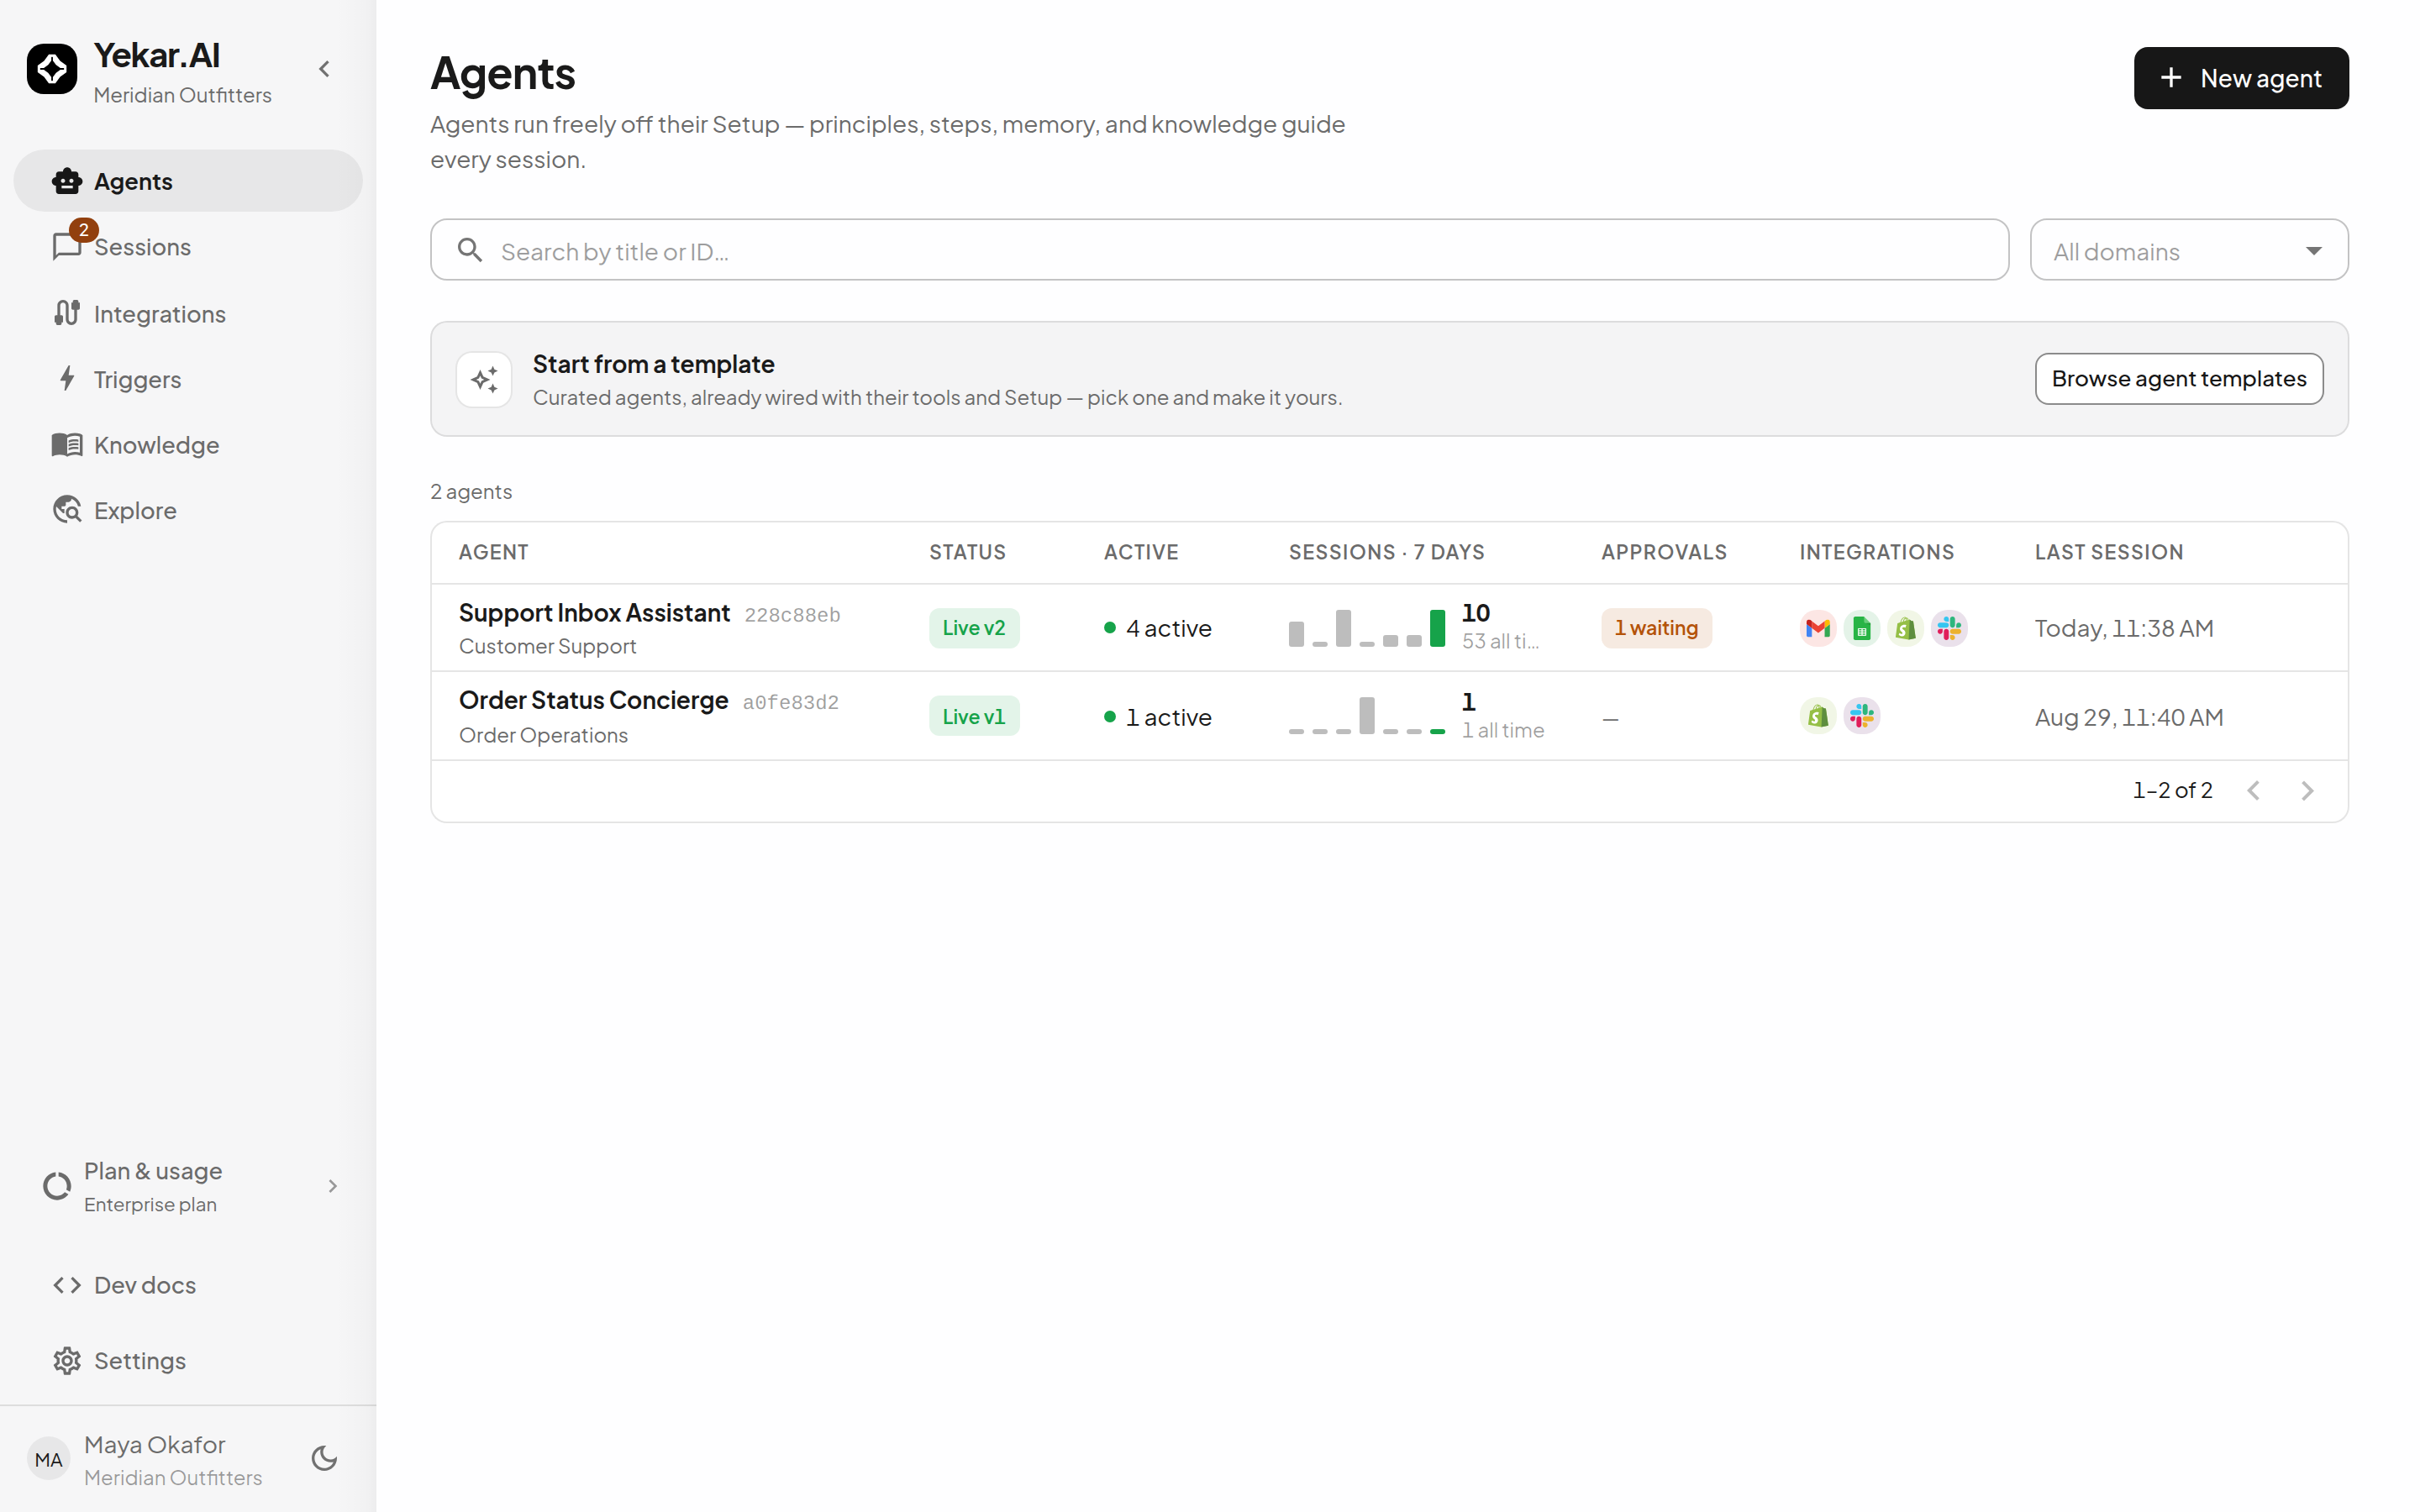
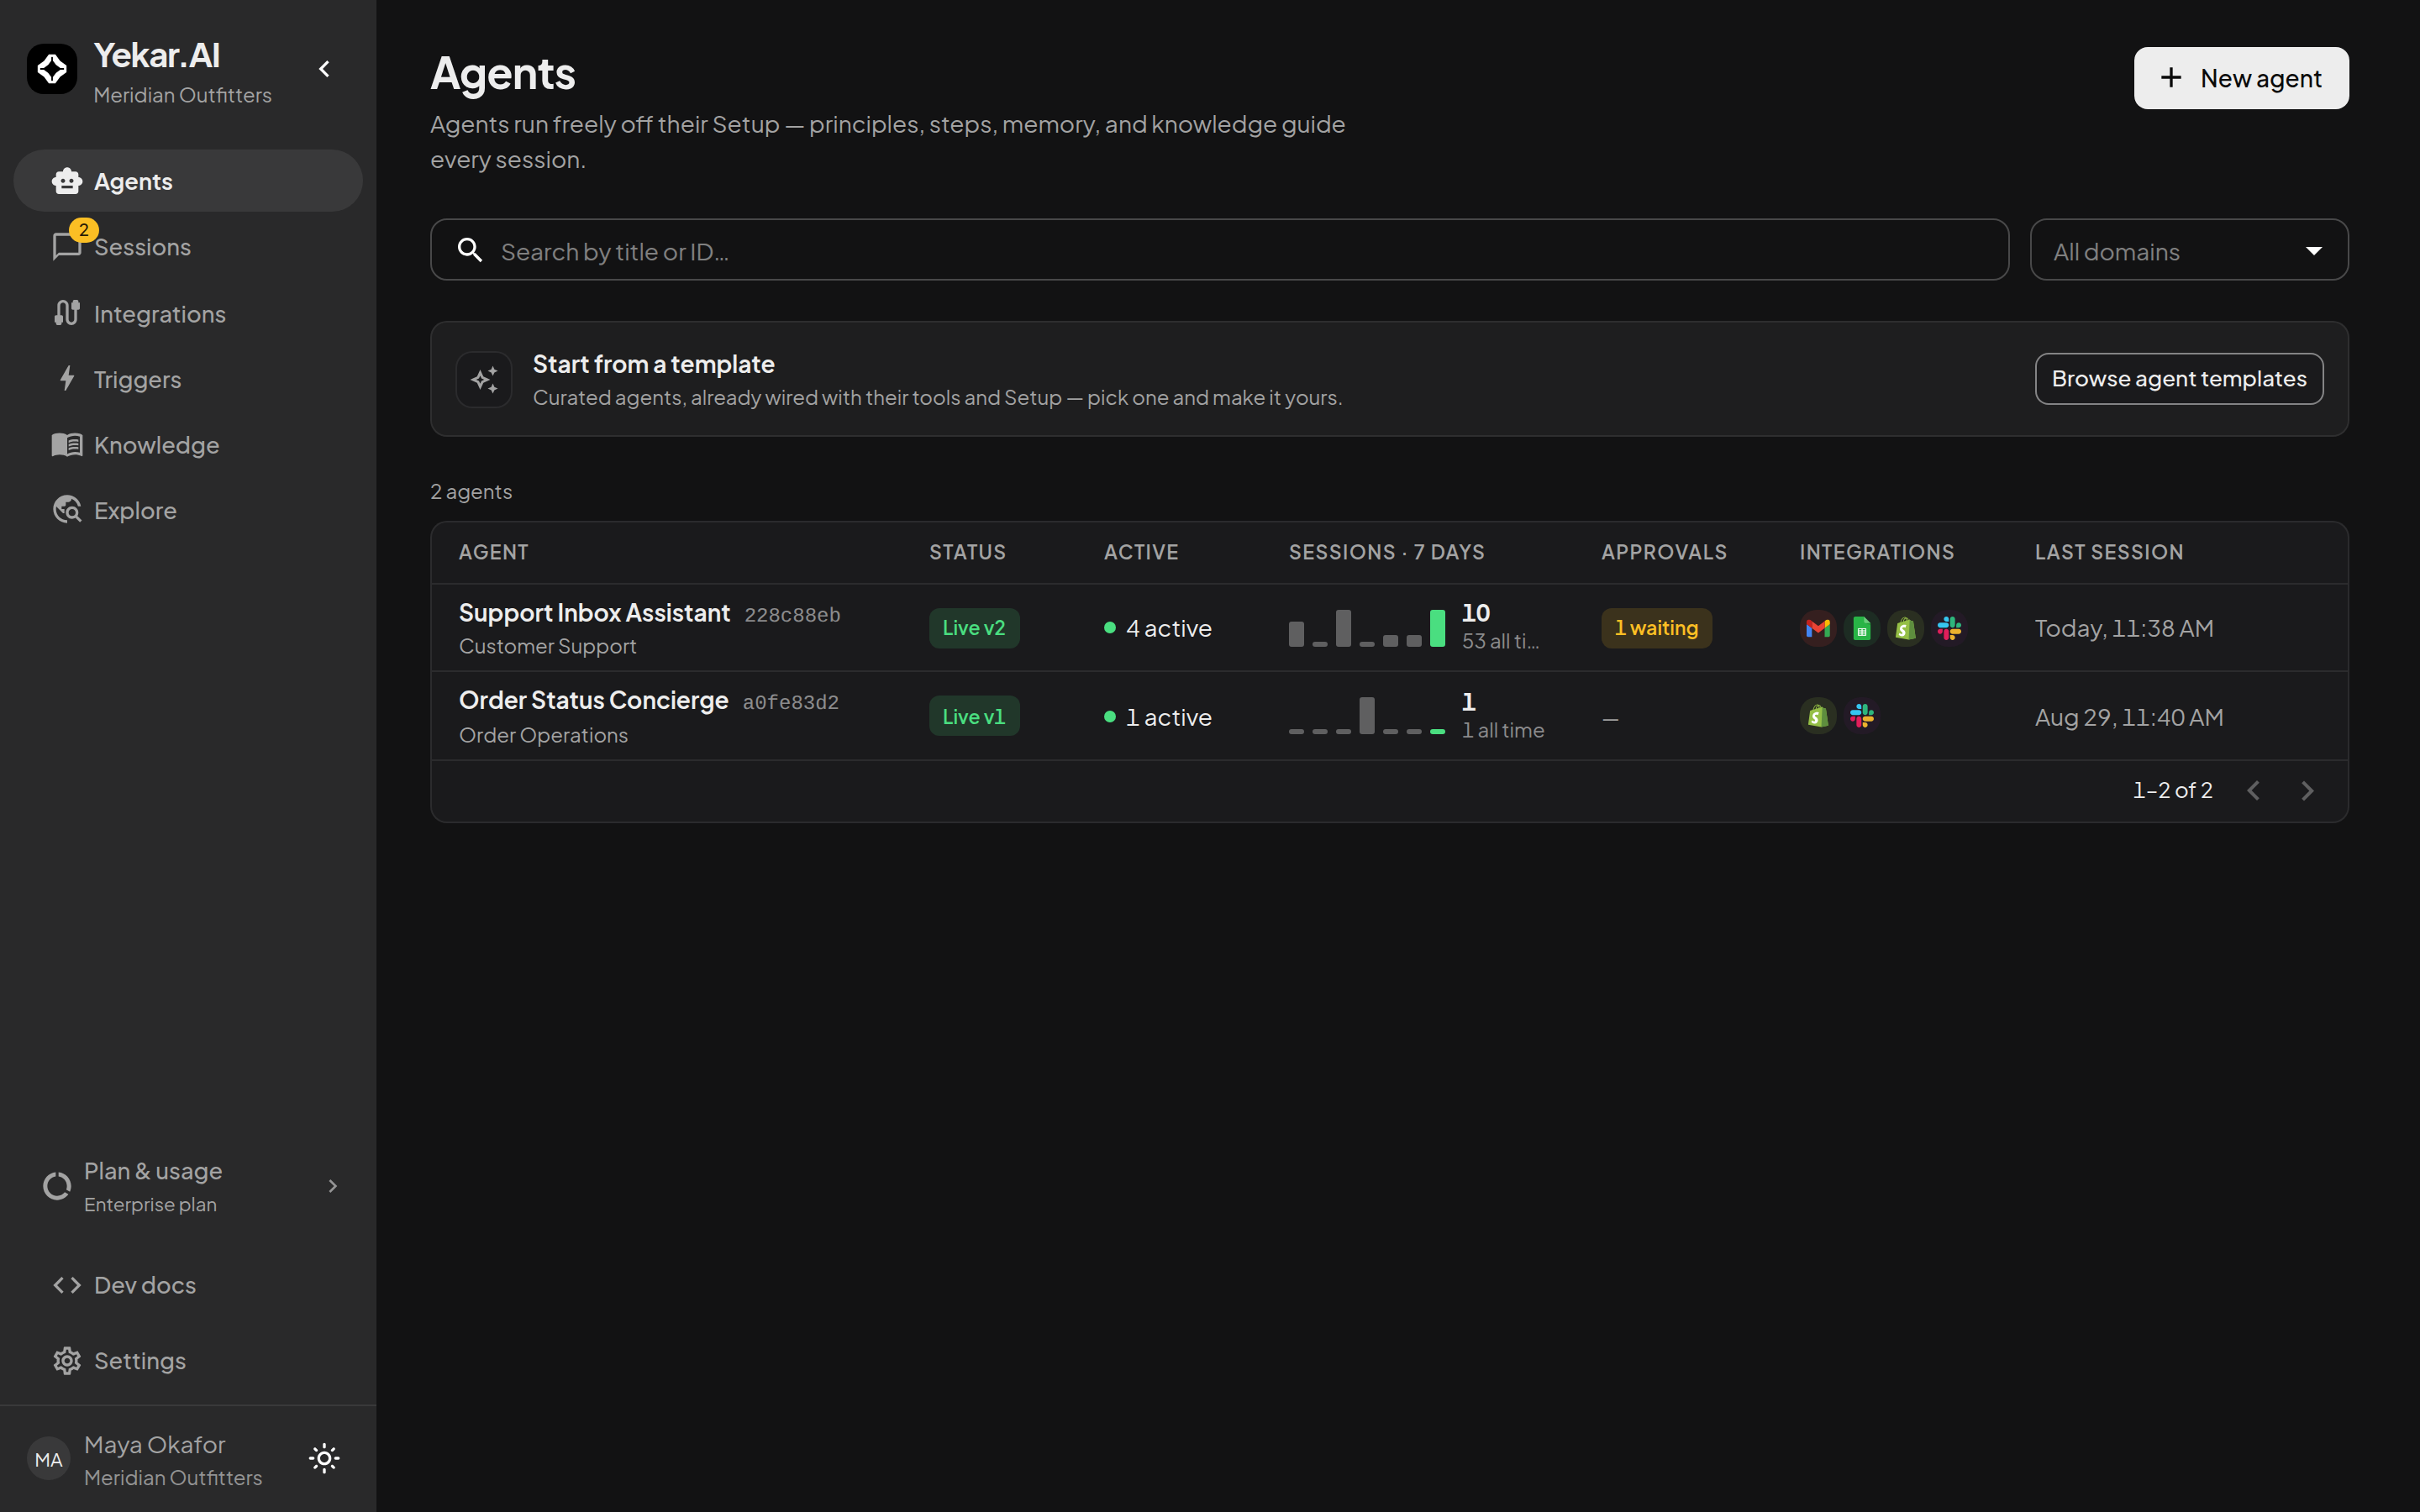
- Open Agents and select New agent.
- Choose a Domain and enter a Name. Description is optional.
- Create the Agent. Its page opens with controls for Setup, Integrations, Triggers, Webhooks, Used by, History, and Settings.
If the page says that no AI provider is connected, open Settings → AI settings → AI providers first - an Agent cannot start a model turn without a key for its selected provider. See AI providers.
Give it a procedure
- Select Setup, then Procedure.
- Write the ordered instructions the Agent should follow. Type
#to choose a tool,@to link another agent, or/to reference an attached file or available knowledge article. Referencing a tool adds its integration to the Agent. See Procedure references for how each shortcut works. - Open Principles and add durable rules that should apply throughout the procedure.
- Select Test drive, then Start test drive. A draft test drive uses real tools, so use test accounts when a step can change external data.
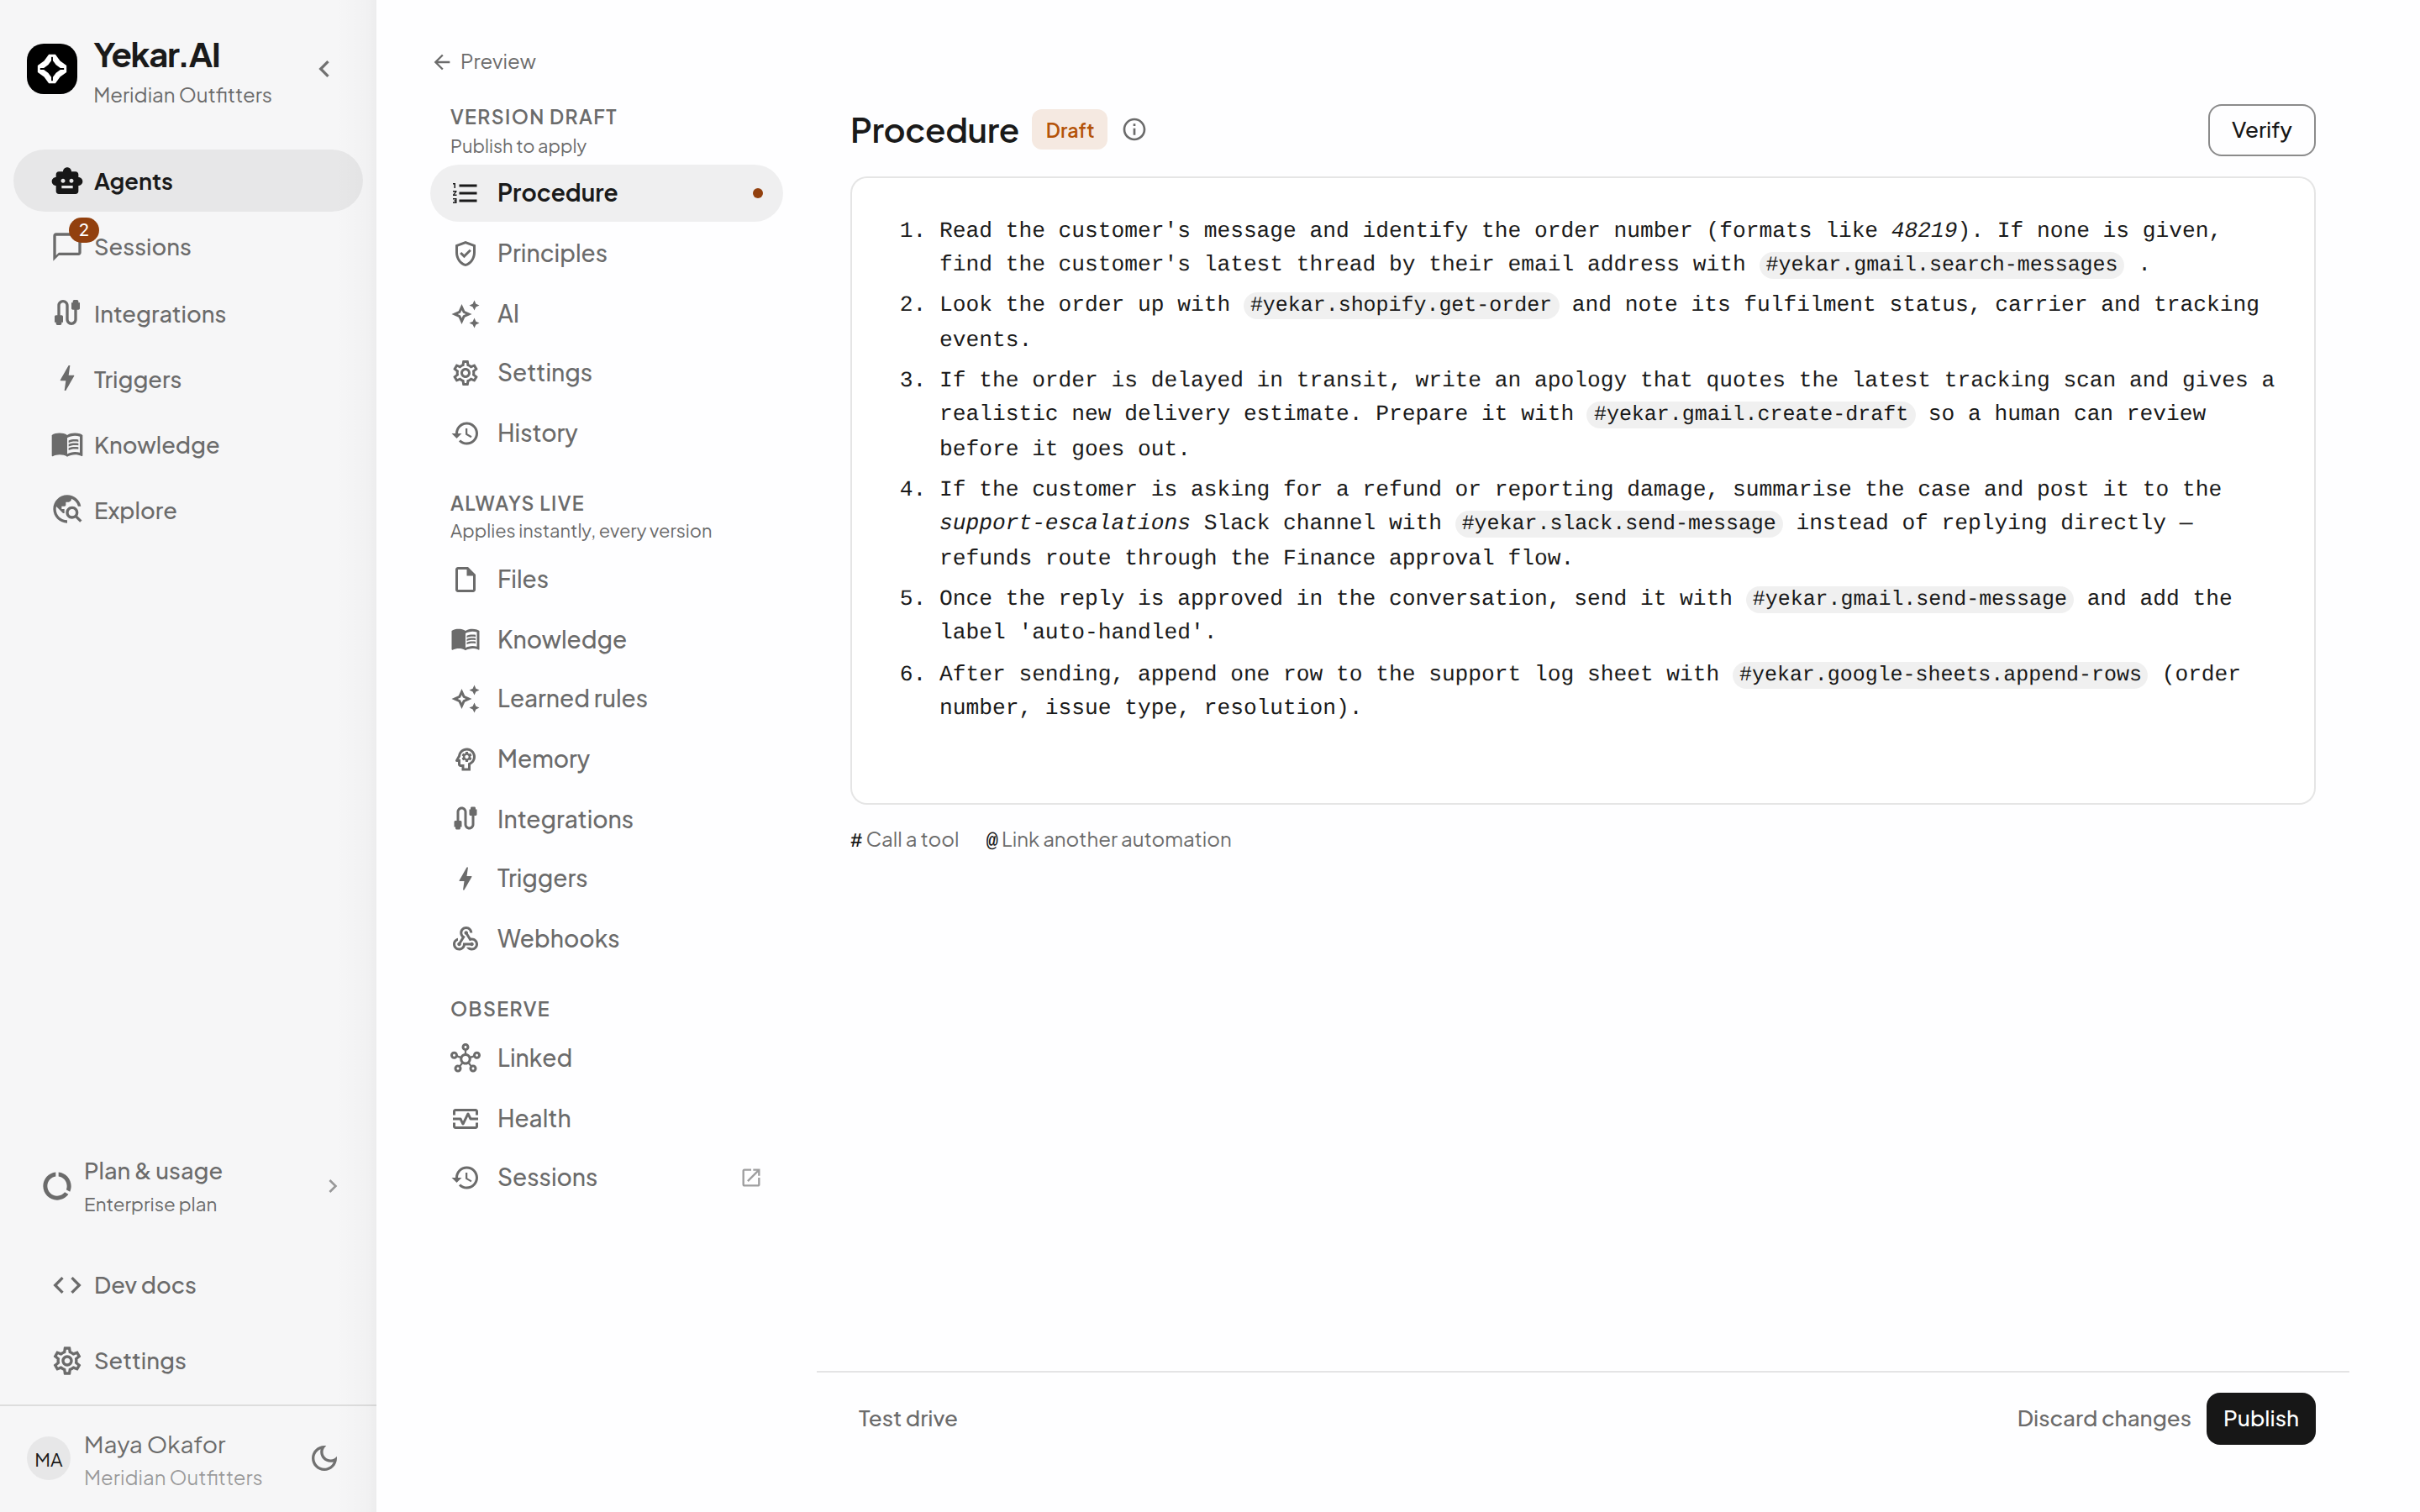
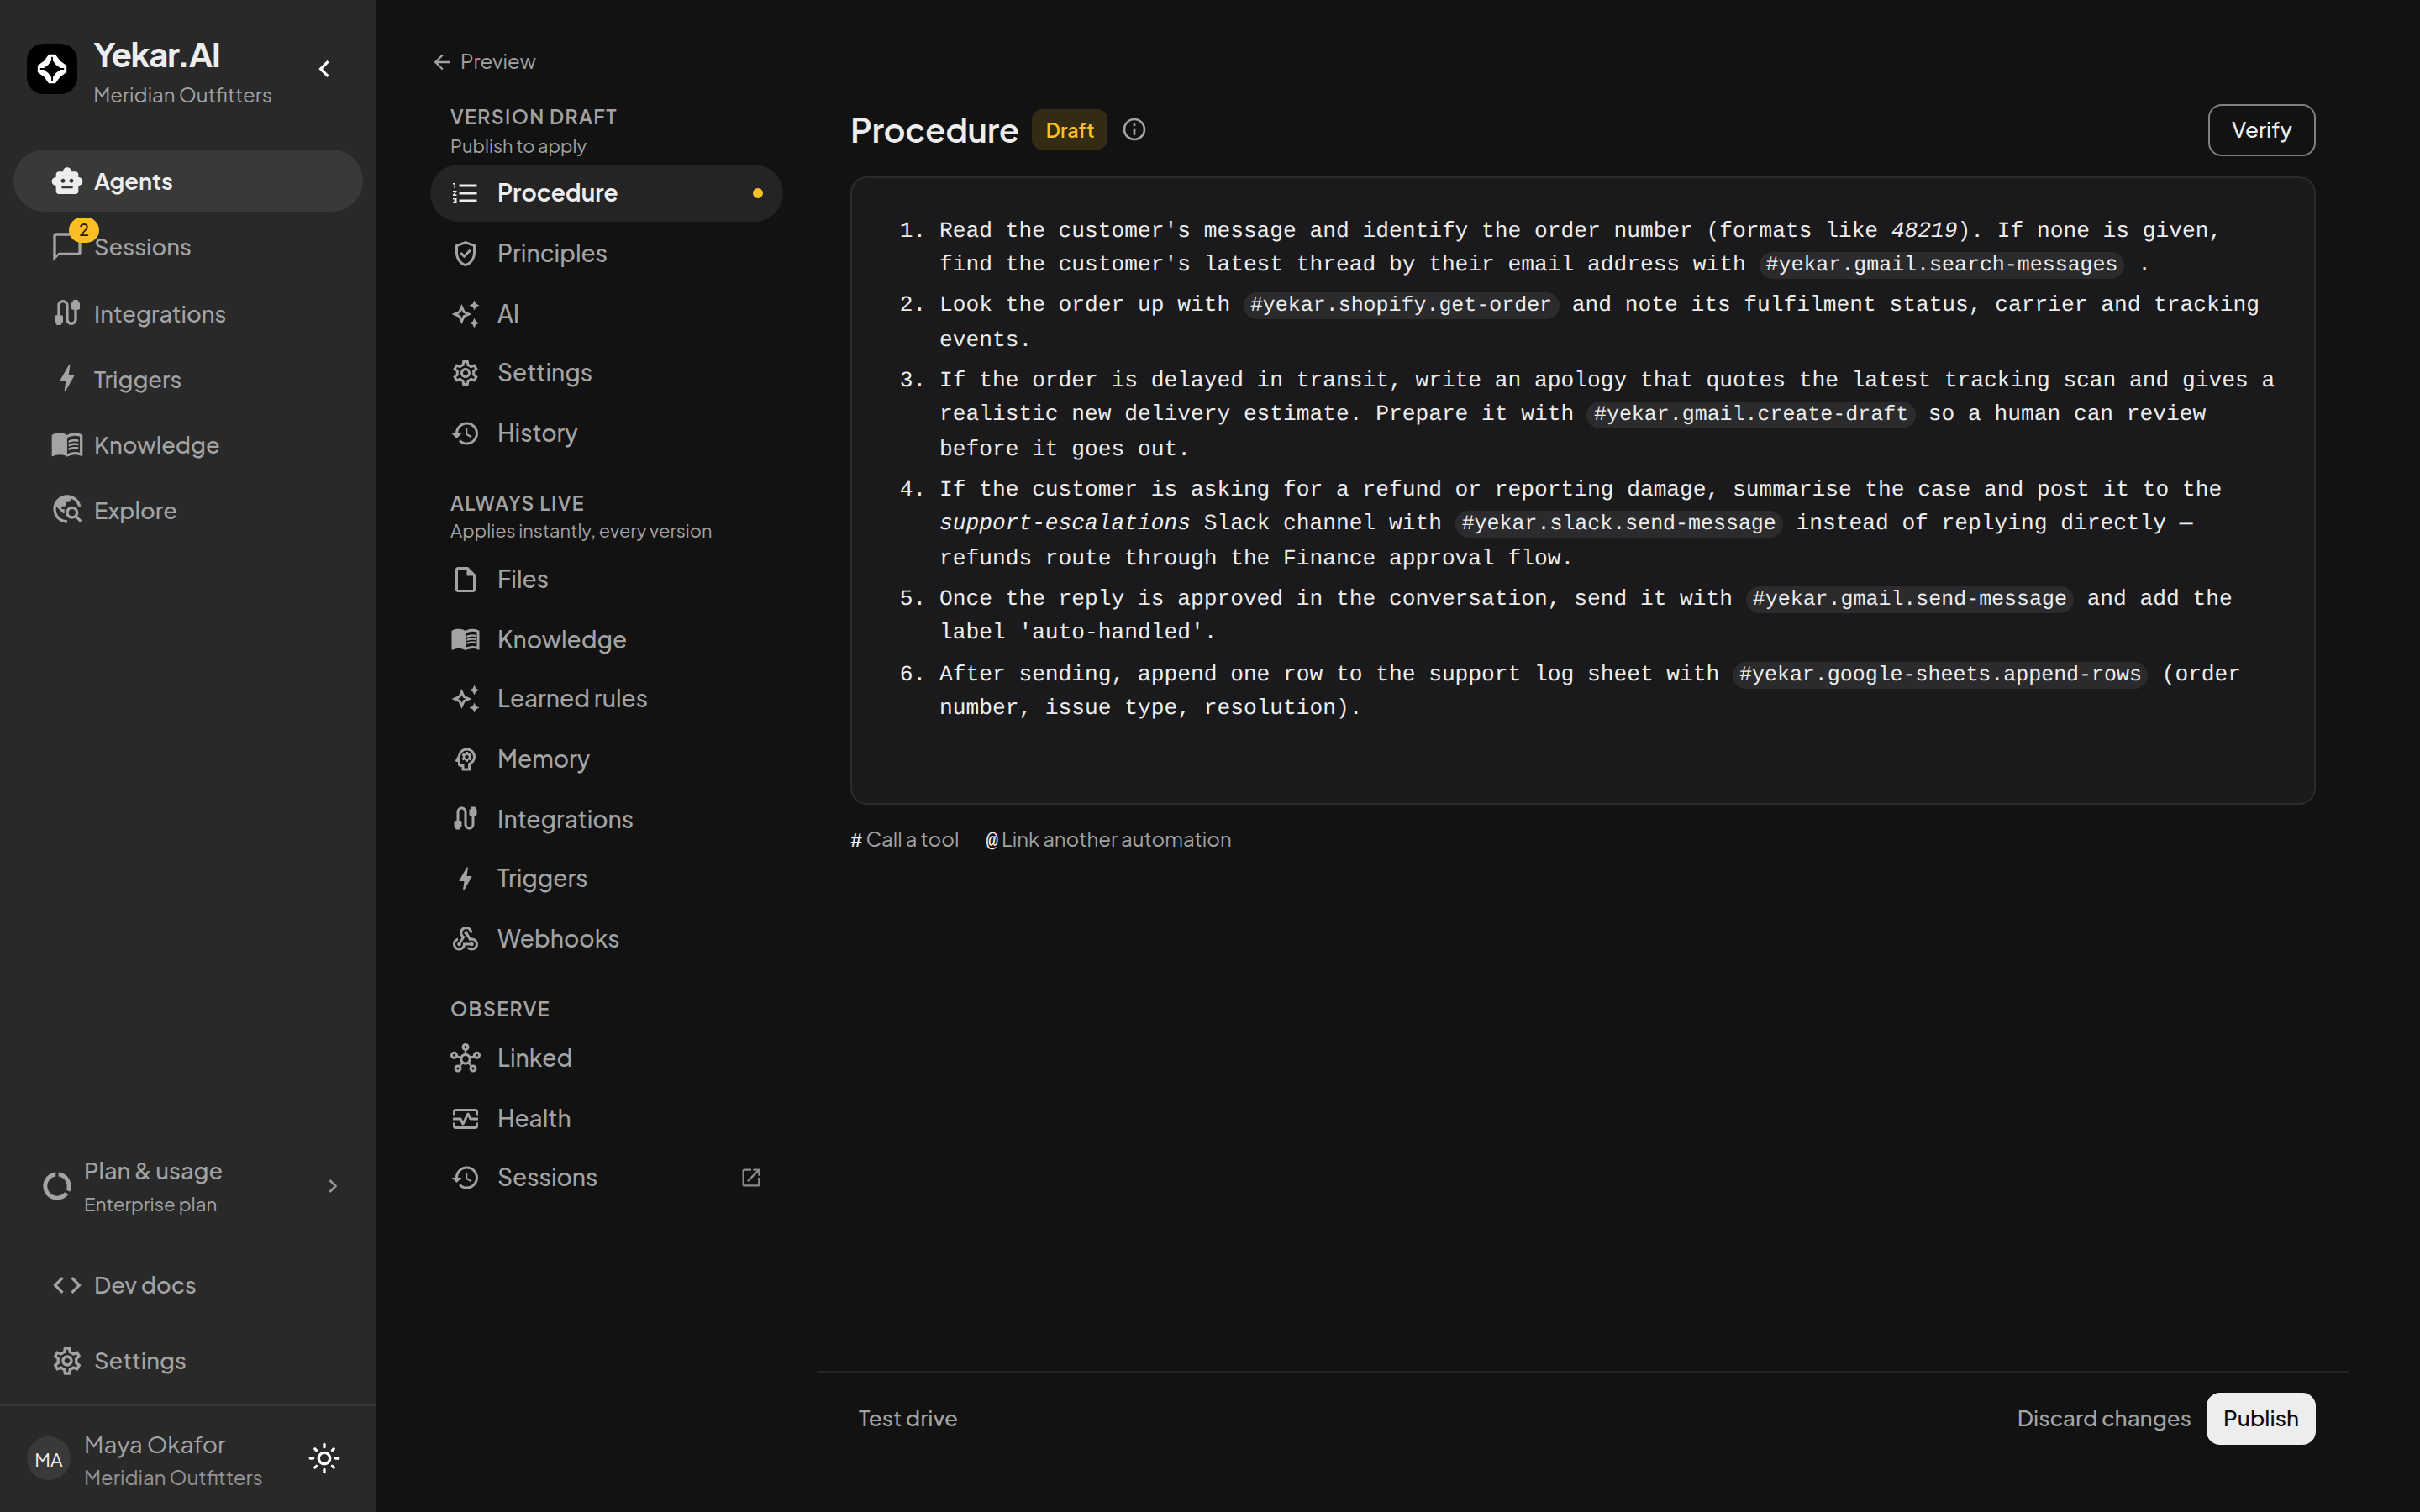
Writing good procedures - and everything else Setup holds - is covered in the Agents section.
Publish and run it
- Return to Setup and select Publish.
- Review the changes, optionally describe what changed, and confirm Publish.
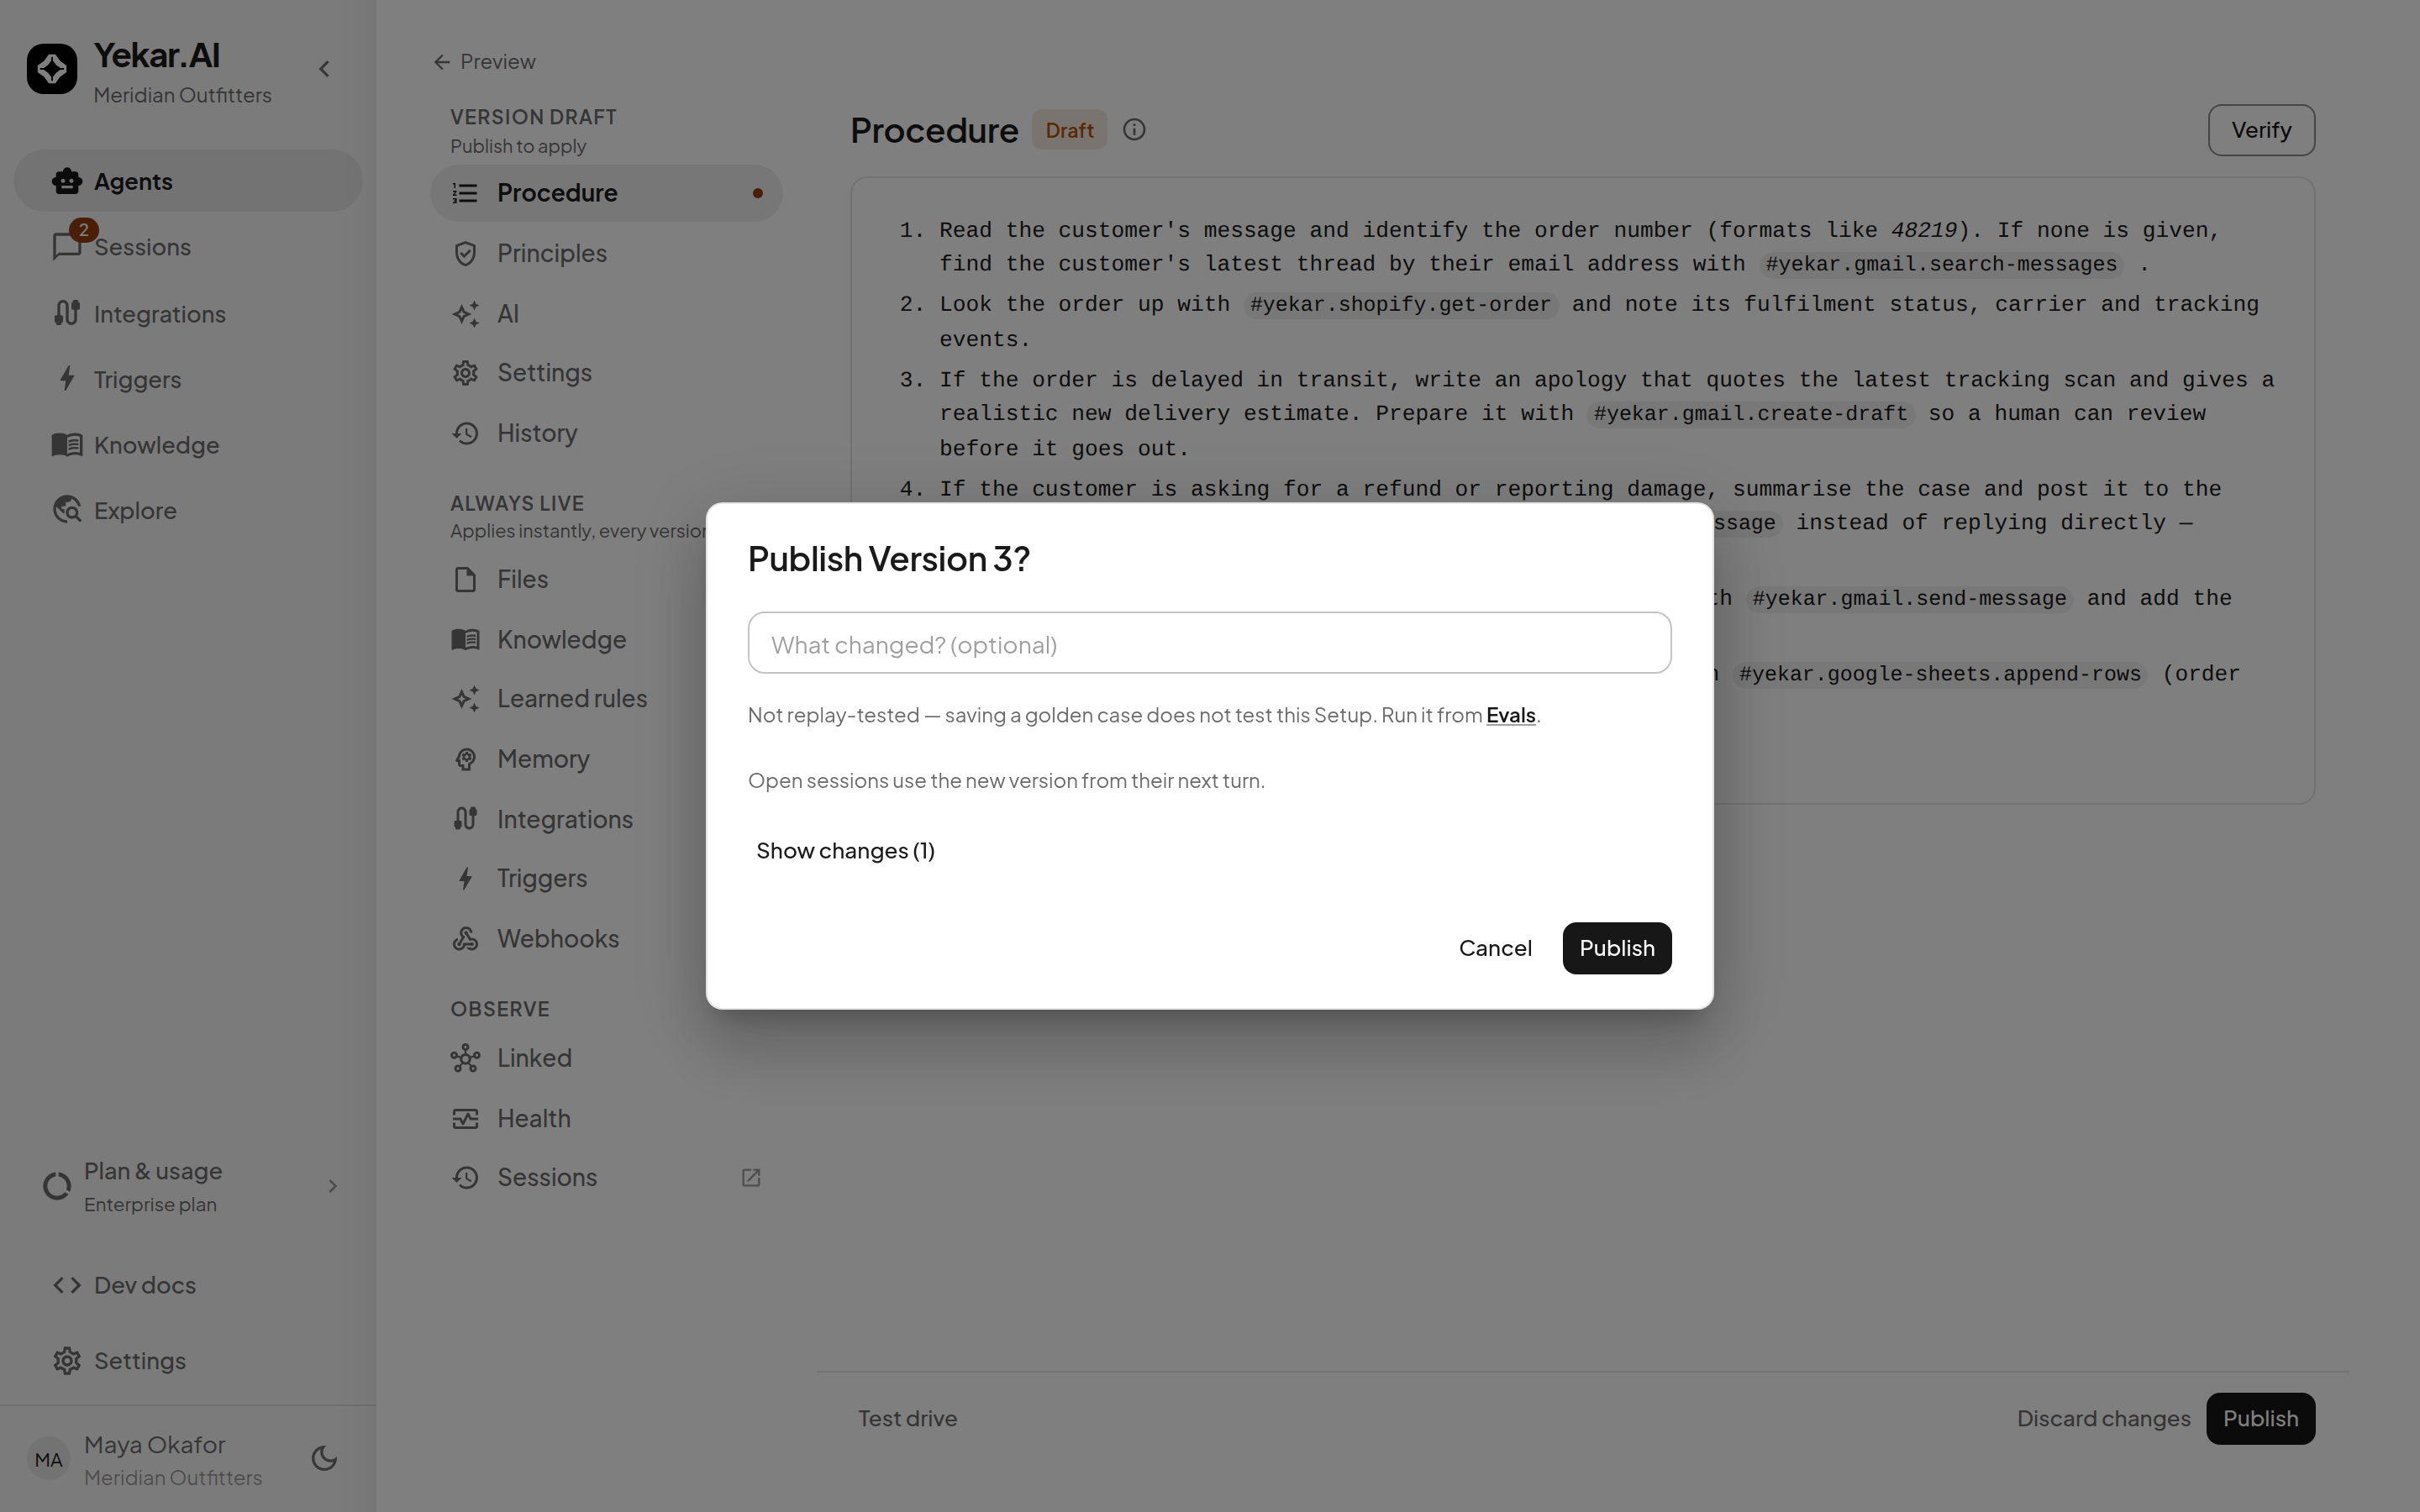
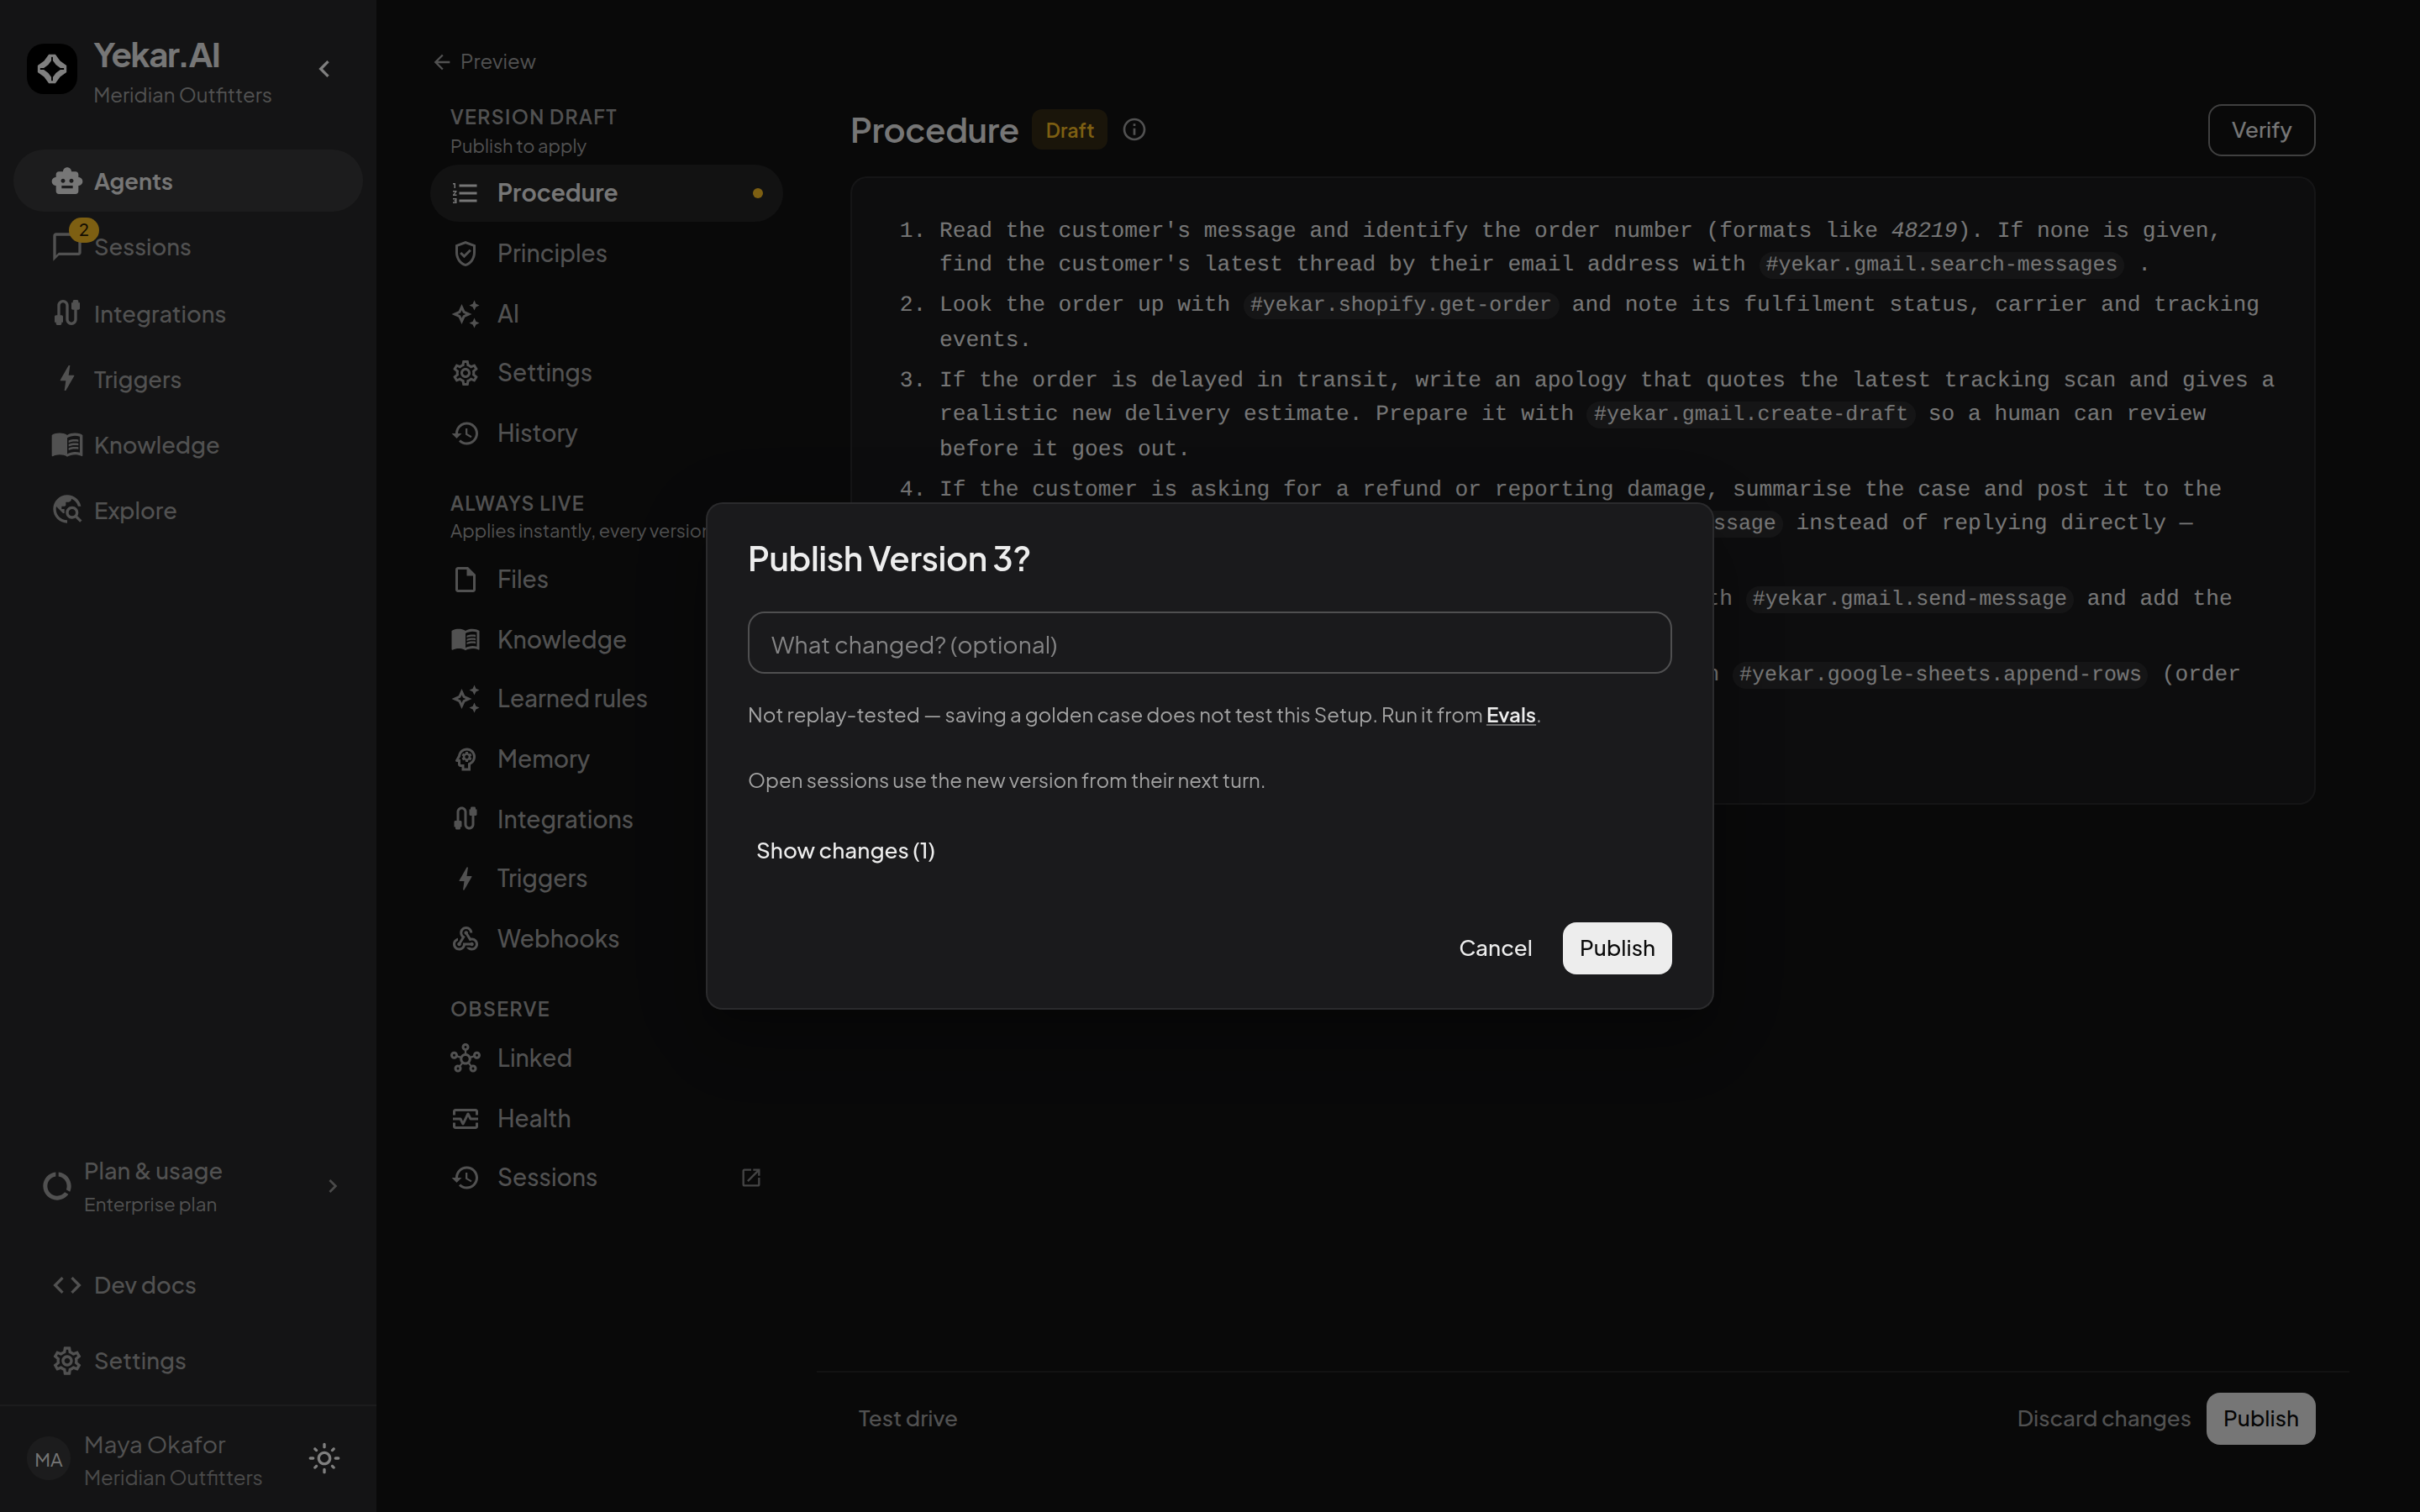
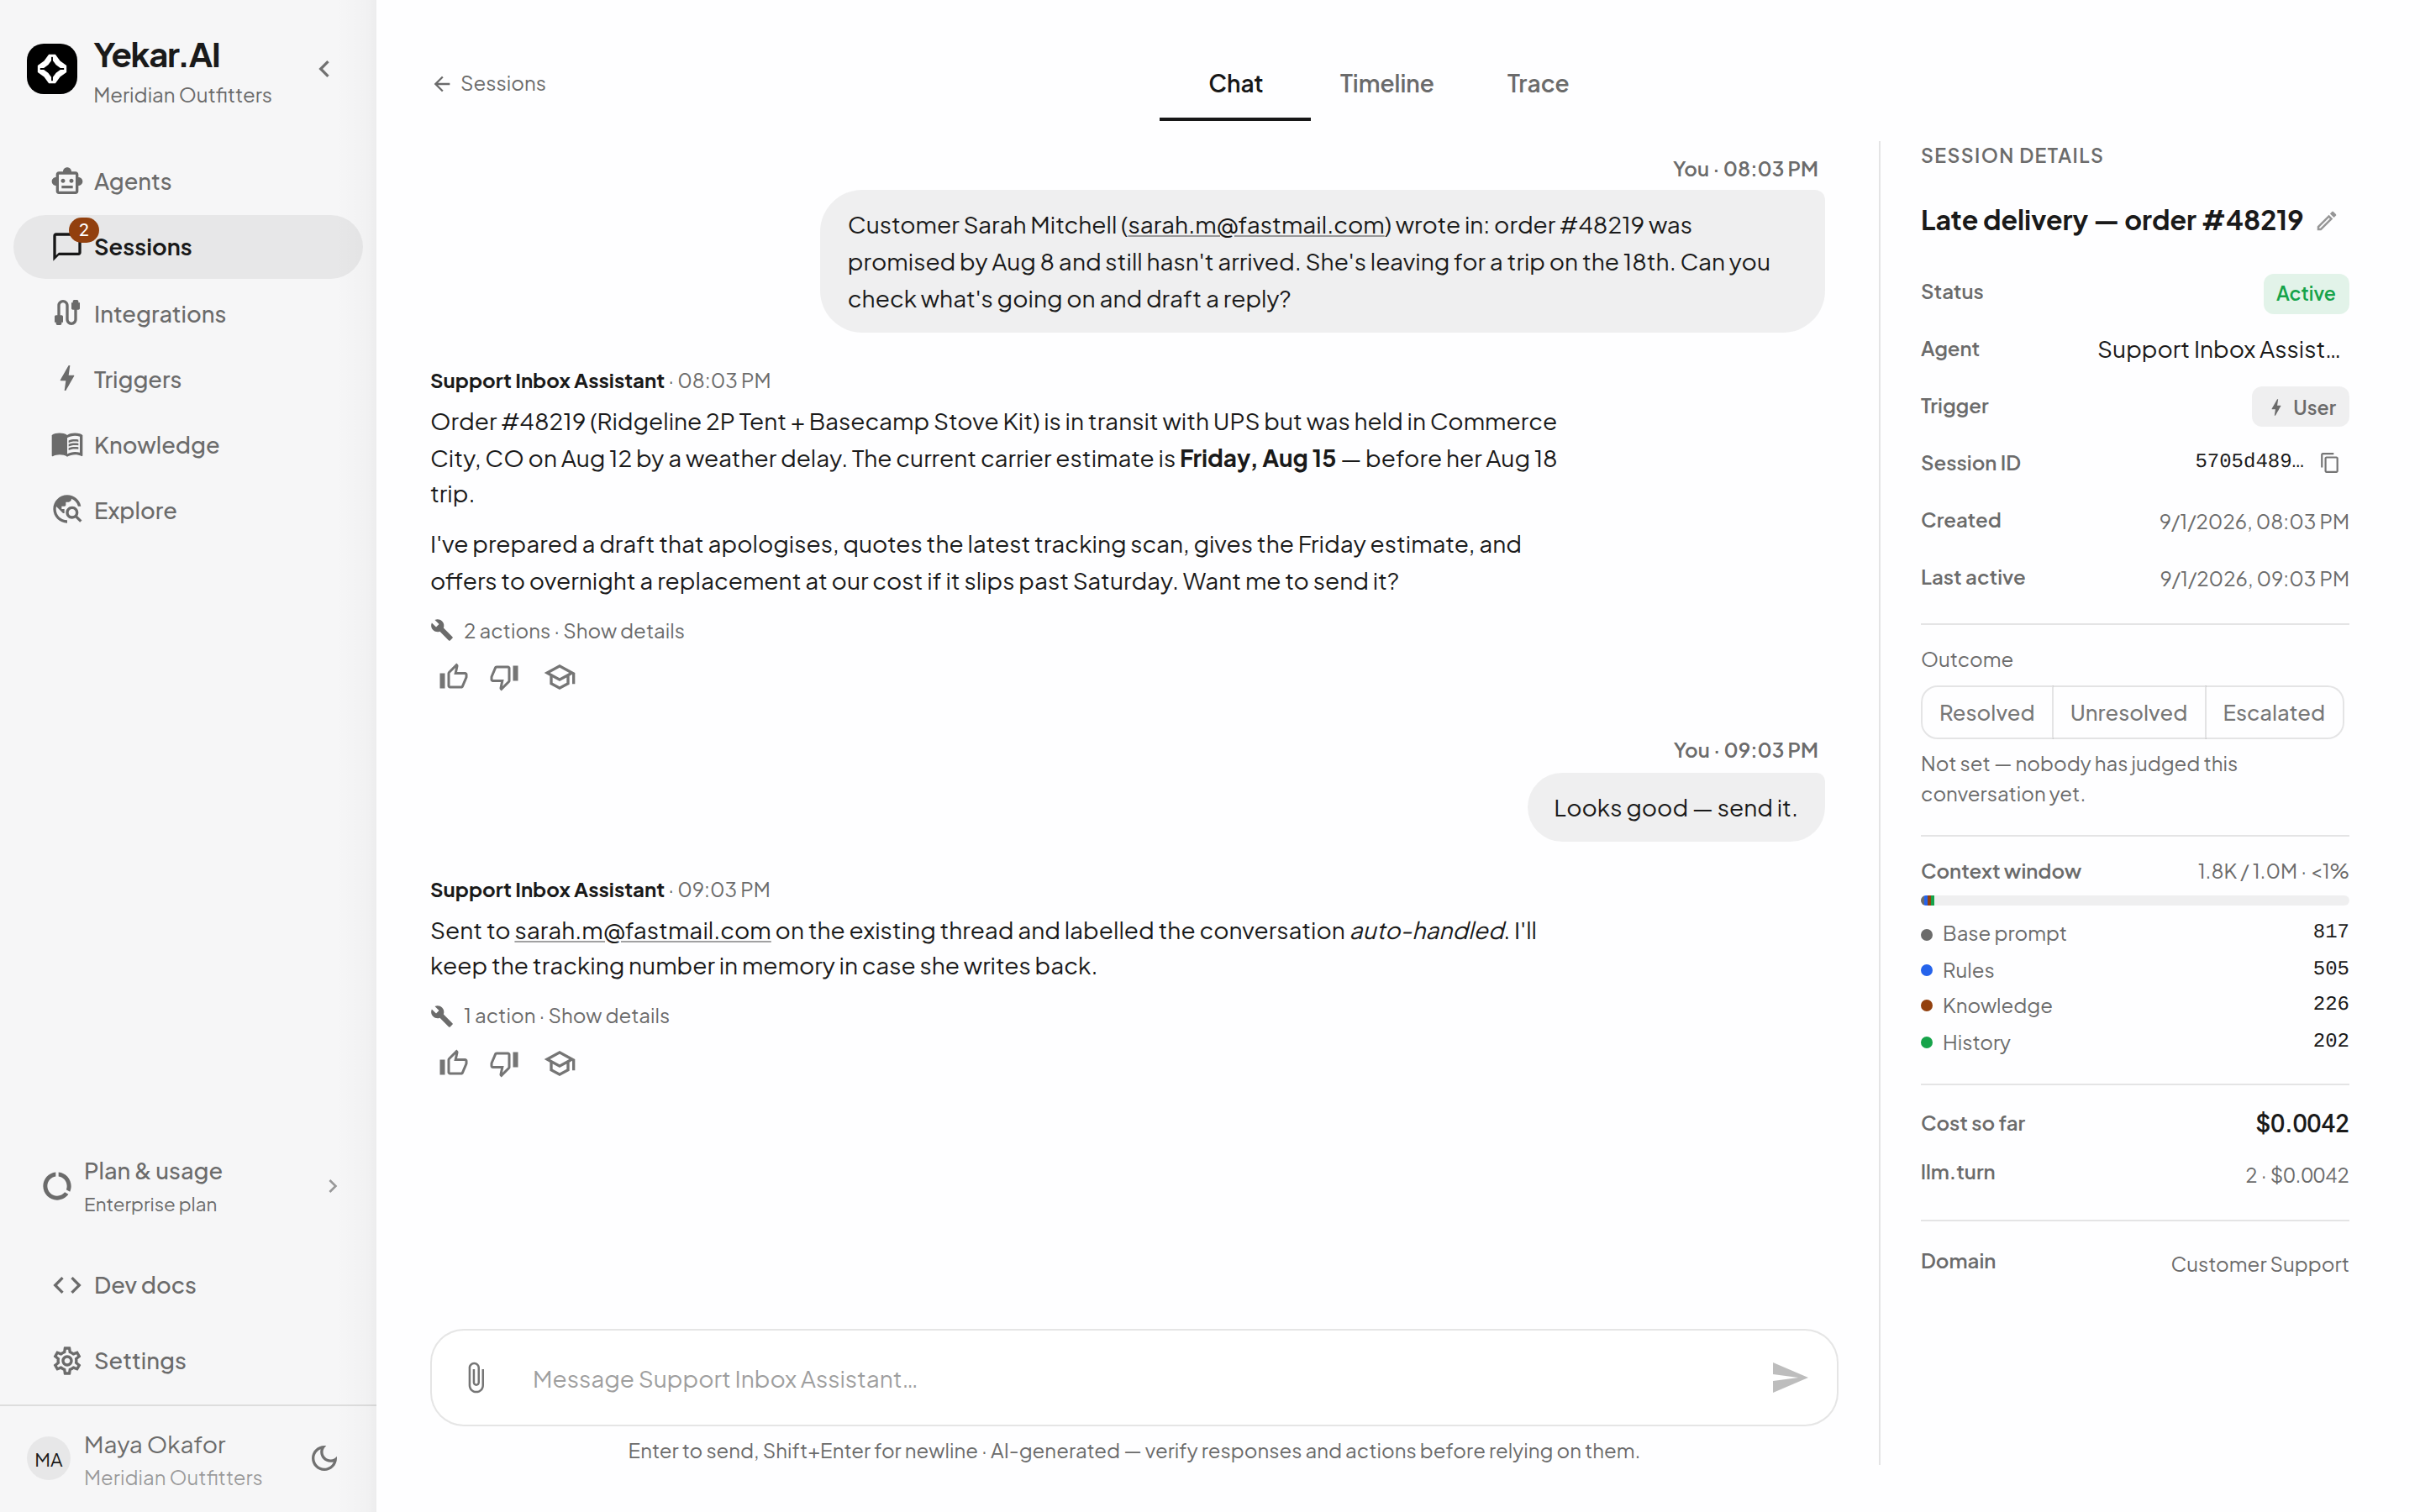
- On the Agent page, enter a message in the composer and send it. Sending creates the session and starts the turn.
- Open Sessions to return to the conversation later. Use Sessions → Monitor while work is running.
Where to go next
- Agents - every Setup capability: procedure, knowledge, memory, integrations, settings, publishing.
- Knowledge - give every agent the same approved policies and playbooks.
- Integrations - connect accounts and choose whose identity agents use.
- Sessions - follow work, monitor live executions, decide approvals.
- Triggers - start agents from schedules, APIs, and events, so the work happens without anyone asking.
Tips
If Publish is unavailable, finish the required Setup fields and resolve the message shown in the panel. If the composer asks you to connect an AI provider or an integration, follow its link. See Troubleshooting for credential and execution failures.